

Builder Gel Mistakes Beginner Should Avoid
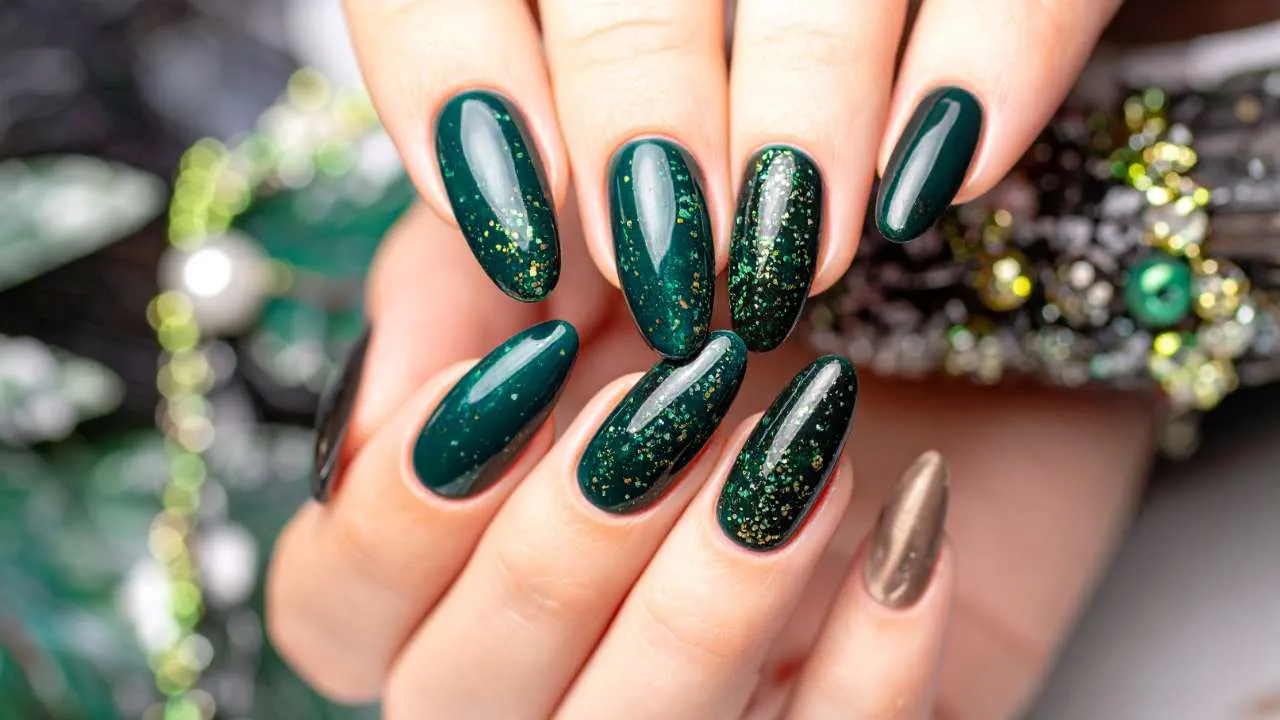
This guide will cover the most frequent errors in preparation, application, and maintenance. We will provide clear builder gel tips for beginners to help you achieve professional results. You will learn how to build a strong foundation, create the correct nail structure, and properly care for your improvements for long-lasting wear.
Why correct nail preparation is essential for builder gel success?
The preparation process must be detailed and systematic. It begins with gently pushing back the cuticles and carefully removing any non-living tissue from the nail plate. Advanced techniques, like the Russian dry manicure, use specialized tools to achieve this with precision, making sure no residue is left behind without damaging the surrounding skin. This clean surface is very important for preventing pathways where lifting can start. According to a report by the British Association of Dermatologists, improper nail care can increase the risk of infections, showing why clean preparation matters.
"Preparation isn't just a step; it's the bedrock of a lasting manicure. Skimp here, and you're building on sand."— Sarah Miller, Certified Nail Technician
After cuticle care, the nail surface should be lightly buffed to remove the natural shine. This gentle buffing creates a subtle texture, providing a better surface for the gel to grip, unlike a completely smooth nail where adhesion might fail. The final step involves chemical preparation. Wiping the nail with a dehydrator or high-grade isopropyl alcohol removes all traces of dust and oil. Once dehydrated, avoid touching the nail surface with your fingers to prevent reintroducing oils. For those with naturally oily nail beds, applying an acid-free primer creates a double-sided tape effect, chemically bonding the gel to the nail for maximum durability. Skipping any of these steps compromises the entire manicure.
What application and structural mistakes undermine builder gel durability?
Common application and structural errors can seriously undermine the appearnace and strength of builder gel nails. One of the most frequent builder gel application mistakes is applying the product too thickly in a single layer. This can lead to intense heat spikes during curing, uneven polymerization, and product flooding the cuticles and sidewalls. When gel touches the skin, it not only causes lifting but can also lead to skin sensitivities or allergic reactions over time.
To avoid these issues, builder gel should be applied in thin, controlled layers. This applies whether you're working with traditional pot-and-brush builder gel or newer, more liquid formulas like BIAB (Builder In A Bottle), which are often easier for beginners due to their self-leveling properties but still require careful application to prevent flooding. A helpful method is the "slip layer" technique, where a very thin, uncured layer of gel is applied first. A small bead of builder gel is then floated over this wet layer, allowing it to self-level smoothly without running into the skin. This method not only aids in even product distribution but also minimizes brush marks, leading to a smoother finish. Flipping the hand upside down for a few seconds before curing uses gravity to help form a perfect apex naturally. These techniques prevent many of the most common builder gel mistakes beginners make.
Comparison: Common Builder Gel Application Errors vs. Correct Techniques
| Mistake | Description | Correct Technique | Benefit of Correct Technique |
|---|---|---|---|
| Applying Too Thickly | Large, single glob of product, leading to heat spikes and under-curing. | Apply in thin, controlled layers over a "slip layer." | Prevents heat spikes, ensures complete cure, natural thickness. |
| Flooding Cuticles/Sidewalls | Gel touches skin, creating lifting, infections, and allergic reactions. | Maintain a microscopic gap between gel and skin; use precision brushes. | Prevents lifting, improves hygiene, avoids skin sensitivities. |
| Incorrect Apex Placement | Apex too far forward, resulting in weak, unbalanced, or "claw-like" nails. | Position apex in the back one-third of the nail; use gravity for self-leveling. | Distributes stress evenly, prevents breaks, creates elegant structure. |
| Skipping Surface Refinement | Applying color over sticky, bumpy builder gel. | Wipe inhibition layer, file for smoothness, remove dust. | Ensures smooth color, strong adhesion, professional finish. |
How do curing and maintenance errors lead to builder gel failure?
To make certain of a complete cure, a high-quality lamp with a minimum of 48 watts is recommended. Industry standards, often cited by suppliers like The Nail Superstore, suggest curing each layer of builder gel for 60-90 seconds under an LED lamp. The curing time can vary slightly depending on the specific builder gel brand, such as formulations from Aprés, IBD, Orly GELFX, or Gelish. A common error is curing all five fingers together; the thumb frequently misses direct light due to its angle. So, it must be cured separately and flat to receive direct light exposure. If you experience a heat spike (a burning sensation), remove your hand from the lamp for a few seconds before reinserting it to finish the cycle. This pulsing method allows the heat to dissipate without interrupting the curing process.
Long-term maintenance is just as important. Builder gel is designed for infills every three to four weeks, not for frequent removal. While some soft builder gels are soak-off, most traditional builder gels are designed to be filed off, not removed with acetone, as repeated soaking can significantly dehydrate and damage the natural nail. An infill involves filing down the old product and rebalancing the nail by applying new gel to the growth area. Many professionals use an e-file for efficient and precise removal of bulk and shaping during infills, though beginners might stick to manual files. Attempting to pick or peel off lifting gel is one of the worst builder gel mistakes beginners make, as it rips off layers of the natural nail plate. Daily aftercare, such as applying cuticle oil and wearing gloves during household chores, protects the manicure from chemicals and excessive water exposure, increasing its life.
Achieve lasting, flawless builder gel with Xpert Russian Manicure Salon
For current appointment and service details at Xpert Russian Manicure Salon, contact the business directly. This article does not verify the salon’s equipment, staff credentials, or procedures.
FAQ's builder gel for beginners
Why does my builder gel lift at the cuticle area?
Lifting at the cuticle is often due to improper nail preparation, such as leaving cuticle residue on the nail plate or insufficient dehydration, which prevents proper gel adhesion. Gel touching the skin during application is another common cause that breaks the seal and allows lifting to begin.
Can I use builder gel on my natural nails without extensions?
Yes, builder gel is excellent for natural nail overlays. It adds strength and thickness, acting as a protective shield that allows weak or brittle nails to grow longer without breaking. This is a great option for strengthening your natural nails while maintaining a polished look.
What causes the burning sensation during builder gel curing?
This "heat spike" occurs when too much gel is applied in a thick layer, causing a rapid chemical reaction that releases heat. Applying the gel in thinner layers helps manage this reaction. If it happens, briefly removing your hand from the lamp allows the sensation to subside.
How often should I get builder gel infills?
Builder gel infills are typically recommended every three to four weeks, depending on how fast your nails grow. This maintenance appointment involves filing down the old product and refilling the new growth area near the cuticle, which rebalances the nail's structure and maintains its appearance.
How can I prevent air bubbles in my builder gel?
Air bubbles can be avoided by handling the product gently and applying it with control. Use a thin slip layer to help the gel glide smoothly, and avoid overworking it with your brush. Allowing the gel to self-level for a few moments before curing can also help bubbles dissipate.
Can builder gel be applied on toenails?
Builder gel can be applied on toenails when the nail plate is clean, dry, and properly prepared. Apply a thin base layer first to improve adhesion, then build the gel with controlled, even strokes to avoid bulkiness. Since toenails are naturally smaller and flatter than fingernails, using less product helps create a natural-looking finish. Allowing the gel to self-level before curing can also help achieve a smoother, more balanced result.