
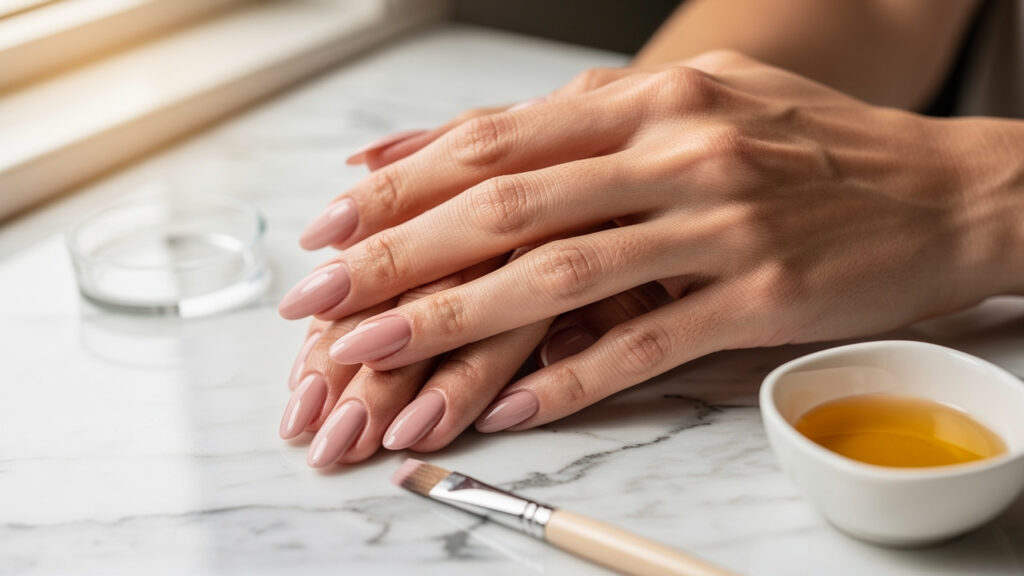
Acrylic nails that look like they came from a high-end salon, done at a kitchen table, are no longer just a social media fantasy. More people want to learn how to do acrylic nails at home to save time, save money, and keep their nails polished on their own schedule. When applied with care, DIY acrylics can feel just as smooth and sturdy as a professional set.
There is a catch, though. Learning how to do acrylic nails at home is a skill, not a shortcut. It calls for patience, focus, and practice with acrylic nail powder and liquid. Salons such as Xpert Russian Manicure Salon build long-lasting nails by focusing on three things: careful nail preparation, high-quality products, and smart structure. The same principles guide a successful home acrylic nails routine.
In this guide, you will see exactly what that looks like. You will learn which beginner acrylic nail supplies you need, how to apply acrylic nails step by step, how to finish and protect them, and how to take off acrylic nails safely. Nail health stays at the center, just as it does at Xpert. A first at-home acrylic set will not be perfect, and that is completely fine. Each set gets smoother, stronger, and more polished as your hands learn the motions.
“Great acrylic nails start long before the brush ever touches the powder.” – Naseem Dar, Senior Nail Tech at Xpert Russian Manicure Salon
What you need: beginner acrylic nail supplies and safety
Before focusing on how to do acrylic nails at home, you need the right setup and a safe place to work. Many beginners start with an acrylic nail kit for beginners, because it gathers everything in one box and usually includes clear instructions. A kit is great for a first at-home acrylic nail set, since it removes guesswork about tools and products.
Over time, many people switch to buying beginner acrylic nail supplies one by one. Individual products often give better quality, more shade choices, and more control over how your acrylics feel and wear. This path costs more up front, but it suits anyone who plans to keep doing DIY acrylic nails at home on a regular basis.
Safety matters just as much as convenience. Always check labels and avoid products with MMA (methyl methacrylate), which can create rigid, damaging enhancements. Look for EMA (ethyl methacrylate) formulas instead. Work in a room with fresh air flowing, since monomer has a strong smell. A cracked window, a small fan, and even a simple mask can make the process more comfortable. For smoother curing, try to use acrylic nail powder and liquid from the same brand, a rule many professionals follow. Wipe metal tools with disinfectant between uses, and stop using any product that causes burning or itching.
Here is a simple supply checklist to start how to do acrylic nails at home with confidence:
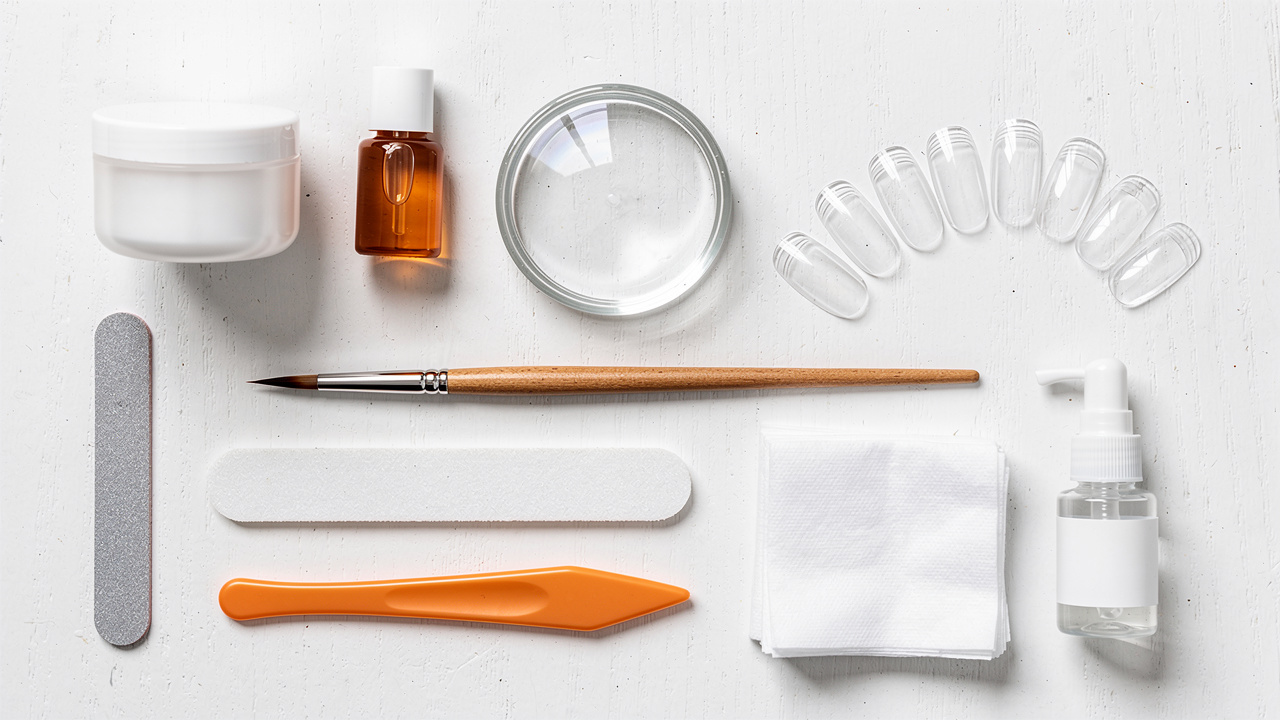
For preparation tools, have nail clippers, a 100/180 grit file, a buffer block, a cuticle pusher, and lint-free wipes or pads. These tools help you shorten, shape, and lightly roughen the nail so acrylic can bond well. Keeping them clean and dry between uses protects nail health and reduces the chance of irritation.
For application products, you need nail tips in multiple sizes, tip glue, dehydrator, an acid-free primer, EMA-based monomer, and acrylic powder, with clear powder as the easiest starter option. A size 10 acrylic brush and a small dappen dish for monomer complete the core beginner acrylic nail supplies. These items are the heart of any acrylic nail kit for beginners and are the base for learning how to start doing acrylic nails in a safe, steady way.
For finishing tools, many people like a gel base coat, gel color, gel top coat, and a UV or LED nail lamp. These products turn a simple acrylic base into polished, glossy nails or fun DIY acrylic nail designs. At Xpert Russian Manicure Salon, products are chosen with the same mindset: professional-grade, gentle on the nail, and reliable for long wear.
How to apply acrylic nails step by step
Once supplies are ready, you can focus on how to apply acrylic nails step by step. Think of this as a slow, detailed acrylic nails tutorial. Each stage builds on the last one. For anyone learning how to do acrylic nails for beginners, good prep, neat tip application, and smart product placement make the biggest difference. Work on one hand at a time so you can concentrate on each nail.
Step 1: nail preparation (the most critical stage)
Nail prep decides how long your acrylics stay on. Before starting how to do your own acrylic nails, wash your hands, dry them well, remove all polish with non-acetone remover, and soak off any gel polish instead of peeling it. Clean, bare nails give the acrylic product a fresh base to hold on to.
Trim your natural nails so they sit just past the fingertip. Long nails under tips move and bend, which can cause lifting. Use a cuticle pusher or orangewood stick to gently push back the cuticles and lift away dry, white tissue from the nail plate. Only remove skin that is clearly non-living; cutting into living skin can lead to redness, pain, and infection.
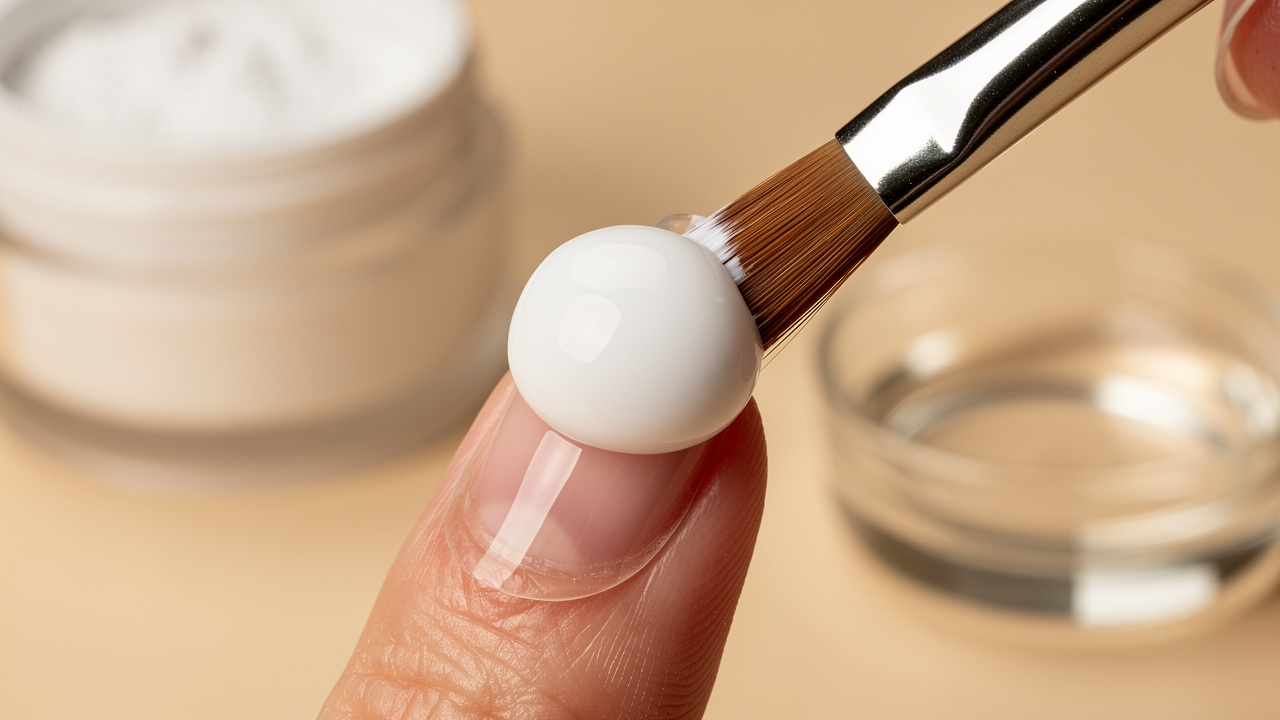
Next, buff the nail surface with a soft buffer until the natural shine is gone. The goal is a light scratch, not deep filing. Wipe off all dust with a lint-free pad. Then brush on nail dehydrator over the natural nail to remove oils, followed by an acid-free primer. At Xpert Russian Manicure Salon, technicians use a dry preparation style, removing dead cuticle with great precision on dry nails. This dry prep creates an ideal bonding surface and is the same logic you want in place while learning how to do acrylic nails at home.
Keep these quick prep rules in mind:
Do not soak nails in water before acrylic application.
Keep dust away from the cuticle area so primer and product can grip properly.
If any nail feels sore or damaged, skip it until it has healed.
Step 2: sizing and applying nail tips
Tip choice shapes the entire set. Pick tips that fit from sidewall to sidewall with no gaps or overlap on the skin. If a tip is slightly wide, gently file the sides until it matches the nail width. A snug fit helps the enhancement last longer and feel more natural.
Place a small dot of tip glue in the well of the tip. Angle the tip so the edge of the well sits about one-third of the way down the natural nail, then press and hold for several seconds. Wipe away any glue that squeezes out before it dries. After all tips are secure, clip them to your chosen length; shorter lengths are easier for step by step acrylic nails for beginners. File the free edge into square, almond, or coffin, and softly buff the seam where the plastic meets your nail plate so the line blends.
Step 3: acrylic application — the three-zone method
Now comes the part most people picture when they think of how to do acrylic nails at home. Pour a small amount of EMA monomer into your dappen dish and keep your acrylic powder open beside it, along with a folded paper towel to wipe your brush. This is your basic acrylic nail powder and liquid setup.
Dip the brush into monomer until the bristles are fully wet, then wipe one side along the dish edge. Touch the tip of the brush to the surface of the powder and let it form a bead. The bead should look smooth and slightly glossy, not runny or chalky. If it floods the nail, there is too much liquid; if it crumbles, there is not enough.
Apply using the three-zone method that many professional techs, including those at Xpert, rely on. In zone one, near the free edge, place a small bead and pat it gently to cover the tip. In zone two, where the tip meets the natural nail, place a larger bead to form the apex, the highest point that gives strength and balance. In zone three, near the cuticle, use a tiny, drier bead, set it a hairline away from the skin, and blend it so it looks thin and smooth.
“Thin, even layers are almost always stronger than one thick, heavy nail.” – senior nail technician at Xpert Russian Manicure Salon
Work in thin layers rather than one bulky coat. Wipe your brush on the paper towel between beads to keep it clean and easy to control. As you learn how to do your own acrylic nails, give yourself extra time to practice this motion. Let each nail air-cure for around ten to fifteen minutes; when you tap the surface with the brush handle and hear a clear click, the acrylic is ready for shaping.
Final shaping, finishing, and how to remove acrylic nails safely
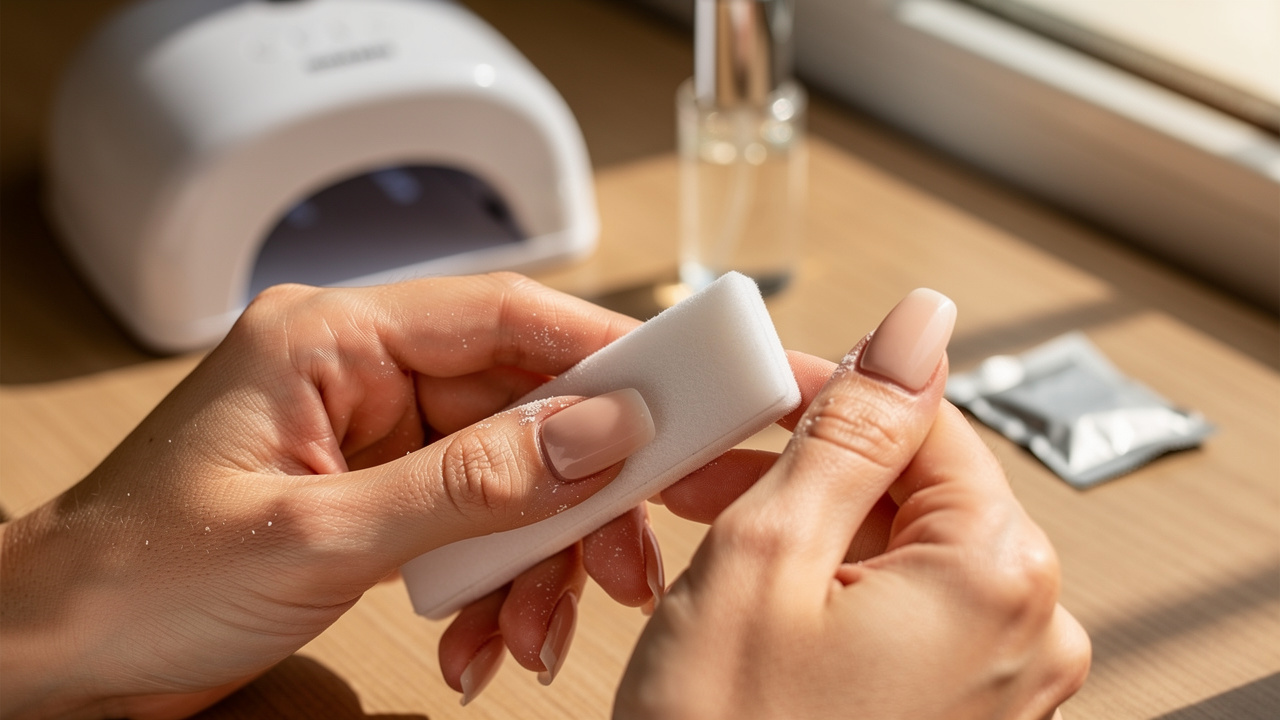
Once the acrylic is hard, you can refine the structure. Use a 100/180 grit file on the sidewalls and free edge to sharpen the shape while keeping the apex in place. Gently file the surface to even out ridges, then smooth with a buffer. The finished nail should be thinnest at the cuticle and tip, with the apex as a soft, higher curve in the center, similar to the “architectural” approach used at Xpert Russian Manicure Salon. Brush dust away often so you can see the shape from every angle.
To add color, many people switch to gel on top of the acrylic. Apply a thin gel base coat and cure it under a UV or LED lamp as directed by the product. Then brush on one or two thin coats of gel color, curing each layer. This is often called how to do gel acrylic nails, since acrylic creates the structure and gel adds the shine. For French tips or simple DIY acrylic nail designs, use a fine art brush and a steady hand to paint the smile line or small accents. Finish with a no-wipe gel top coat, taking care to cap the free edge so the seal lasts and to clean any gel from the skin before curing.
Daily habits play a big role in how to keep acrylic nails on longer:
Using professional cuticle oil every day keeps the skin and product flexible. Jojoba-based oils, like those recommended by Xpert, sink into the nail surface and help prevent cracks in both acrylic and gel. A tiny amount massaged in twice a day can extend the life of your set and keep the area around the nail looking tidy.
Wearing waterproof gloves during dishwashing, cleaning, or long baths protects the bond. When nails sit in water, they swell and then shrink as they dry, which can loosen acrylic from the nail plate over time. Gloves add a simple barrier so your at home acrylic nail set stays tight and smooth for more days.
Treating acrylic nails like jewelry instead of tools reduces stress on the structure. Avoid using them to peel labels, pop cans, or scrape surfaces. These motions bend the enhancement right at the stress area and can cause lifting or cracks, even if the acrylic was applied well.
Knowing how to take off acrylic nails is just as important as knowing how to apply them.
Trim the length with clippers.
Use a coarse file to thin down the bulk, but stop well before the natural nail so you do not cause damage.
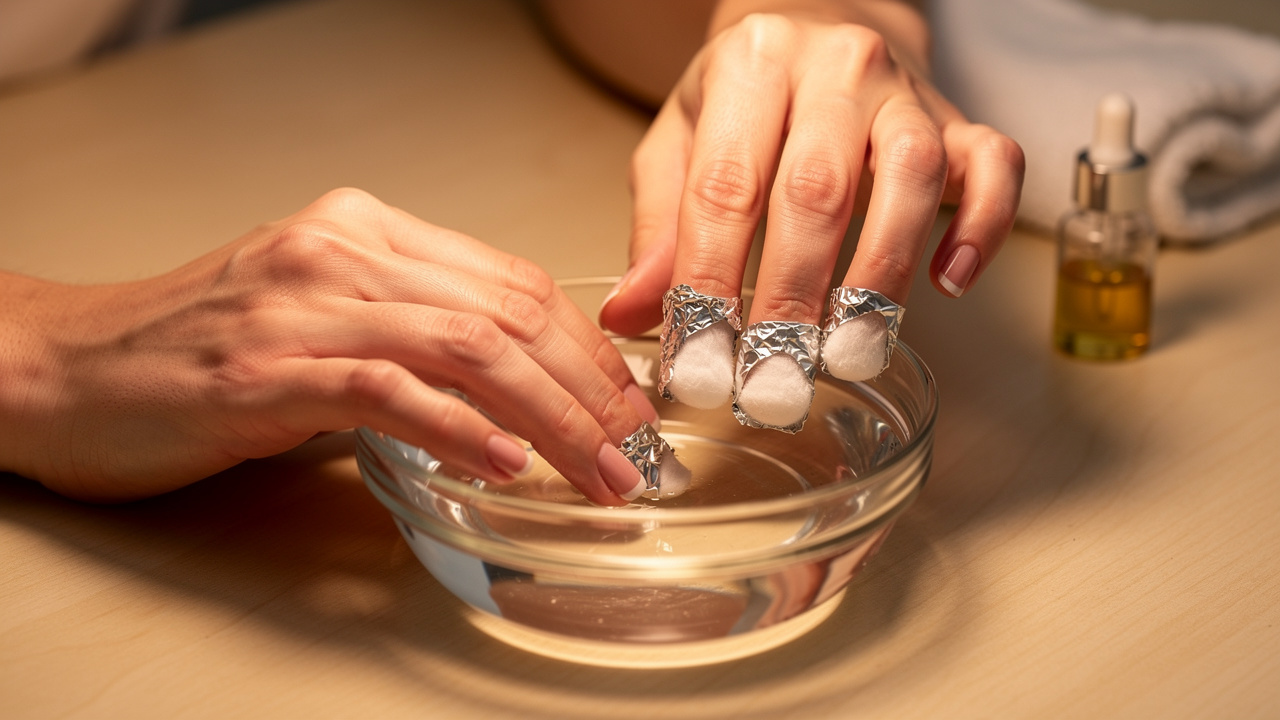
Soak the nails in pure acetone, either in a small glass bowl or with acetone-soaked cotton pads wrapped in foil, for ten to twenty minutes.
Gently push away the softened acrylic with a cuticle pusher; if product remains, re-soak instead of forcing it.
When the nails are bare, buff lightly and coat them in nourishing cuticle oil.
This gentle removal mirrors how careful salons handle acrylics and keeps your nails ready for your next round of DIY acrylic nails at home.
Final toughts
Learning how to do acrylic nails at home blends art, science, and a bit of patience. Strong, long-lasting results come from three main habits: thoughtful nail prep, quality acrylic nail powder and liquid, and careful shaping that keeps the apex in the right spot. These are the same ideas that guide every set at Xpert Russian Manicure Salon.
Progress feels gradual at the start, especially for anyone trying step by step acrylic nails for beginners. Each time you set up your station, prep the cuticles, and form beads, your hands grow steadier and your eye for structure gets sharper. With regular cuticle oil, gentle daily care, and safe removal, your natural nails can stay healthy under every set.
If you ever want the comfort of expert-level cuticle work, precise Russian dry prep, and refined structure without doing the work yourself, Xpert offers professional acrylic and gel services based on the same principles shared here. For now, use this guide, trust the process, and let each new set show how far your skills have come.
FAQs
Can I do acrylic nails at home without a kit?
Yes, you can learn how to do acrylic nails at home without a kit by buying monomer, powder, primer, tips, glue, a brush, a dappen dish, and prep tools separately. Many people prefer this route after a few sets, because individual products often feel higher quality than starter kits. For a very first attempt, though, an acrylic nail kit for beginners keeps things simple and makes sure no piece is missing.
How do I do short acrylic nails at home?
Short sets are perfect for anyone new to how to do acrylic nails for beginners. After applying tips, trim them so the length is only a little past your fingertip. Use less product in the free-edge area so the nail does not look bulky. Choose simple shapes such as square or rounded square, which are easier to file and maintain. Short shapes are easier to file, chip less, and suit daily typing or phone use, which makes how to do short acrylic nails at home much more manageable.
How long do DIY acrylic nails last?
For most people still learning how to do acrylic nails at home, a set stays presentable for about two to three weeks. With solid prep, a strong apex, daily cuticle oil, and mindful habits, many see three to four weeks of wear. Professional application, like that done at Xpert using Russian manicure prep and structured acrylic, often reaches three to five weeks with very little lifting. After that point, growth near the cuticle usually means it is time for a fill or a full soak-off.
How do I fill in acrylic nails at home?
To learn how to fill in acrylic nails at home, start by gently filing the regrowth area near the cuticle so it feels slightly rough. Brush away dust, then apply dehydrator and primer only to the new natural nail that has grown out. Place a small bead of acrylic over that gap and blend it into the old product so the surface looks smooth and the apex sits in the right spot again. After curing, file and buff as usual, then add gel color or top coat to refresh the whole set. If the nails feel thick or have been filled several times, it is kinder to soak off the product and start a fresh set.