
Do long, polished nails feel like a goal that always slips away after a few days? Do Gel X extensions that should last weeks start lifting at the base or even pop off in one piece? Does it seem like everyone else gets perfect wear while Gel X nails popping off is a constant problem for you?
Here’s the short answer in plain terms. Gel X nails pop off early because of imperfect nail prep, wrong tip size, gel or air trapped in the wrong places, weak curing, or daily habits that break the bond. The fix starts before the tip ever touches the nail and continues with how the nails are treated afterward.
In this guide, you’ll see how prep, application, curing, and aftercare each affect how long Gel X nails last. You’ll learn why preparation alone accounts for most Gel X success, how professional dry manicure methods make such a big difference, and what to change if Gel X nails are lifting, peeling, or not sticking at all. The goal is simple: fewer surprises, longer wear, and nails that stay polished for work, events, and everything in between.
Why Gel X nails pop off and the most common causes
Gel X failures are almost always technique related, not product related. The brand of tips and gel matters far less than how carefully the natural nail is prepared and how precisely the system is applied. When Gel X nails keep popping off, the cause usually falls into a small set of patterns that repeat over and over.
The first pattern is oil or moisture on the nail plate. Natural nails produce oil all the time, and many hand soaps, lotions, and creams leave a thin film. If that film is still on the nail during application, the gel can’t bond properly. The result is Gel X nails lifting within days, often starting at the base or lifting everywhere at once.
The second pattern is residual cuticle or dead skin left on the nail surface. Gel bonds best to keratin in the nail. If there is invisible skin stuck to the plate, the gel sticks to that thin tissue instead. As the skin sheds in the next few days, the Gel X extension starts lifting right at the cuticle area.
Incorrect tip sizing is another big reason for Gel X nails not sticking. A tip that is too narrow pinches and pulls away at the sidewalls. A tip that is too wide floats over the edges and catches on hair and clothing. Both versions create stress points that soon become Gel X nails falling off.
Air bubbles trapped under the tip act like tiny empty pockets. Pressure from daily life pushes on those pockets and slowly spreads the gap. This shows up as Gel X nails lifting in the middle or peeling off from the free edge. Bubbles also let moisture sit under the tip, which is not healthy for the natural nail.
Finally, there is under curing. If the gel is not fully cured with the right lamp and time, the bond stays soft under the surface. These are the Gel X tips that feel fine at first but snap off with very light pressure anywhere on the nail.
To make this easy to scan, here is how the main causes usually show up:
| Cause | Symptom | Where it happens |
|---|---|---|
| Oil on nail plate | Lifting within days | Base or full tip |
| Residual cuticle | Lifted ring at the base | Cuticle area |
| Wrong tip size | Stress lifting at the edges | Sidewalls or corners |
| Air bubbles under tip | Gradual separation or peeling | Under the tip body |
| Under curing | Tips pop off with light pressure | Anywhere on the nail |
Many people also struggle because of habits like using lotion right before a set or touching hair after prep. Once you spot which pattern matches your nails, fixing it becomes far simpler, and Gel X nails popping off turns into Gel X nails that last.
Nail prep for Gel X nails and why it determines everything
Nail prep is the base that every Gel X set sits on. Technicians often say that around ninety percent of Gel X wear time comes from this one stage alone. If Gel X nails are not adhering, lifting after a few days, or peeling off in full pieces, prep is almost always the first thing to check.
Dry, clean, and gently textured nails give the gel something solid to grip. Water-based manicures swell the nail plate for a short time, then it shrinks again as it dries. That shrinking motion can break the bond and lead to Gel X nails lifting far sooner than they should. This is why many advanced services use dry manicure methods only.
At salons such as Xpert Russian Manicure Salon, every Gel X set starts with careful dry prep instead of soaking in water. That means the nail plate stays the same size from prep through curing, which helps prevent Gel X nails popping off in the first week.
As many nail educators like to say, “Prep is 90% of retention; product is the other 10%.”
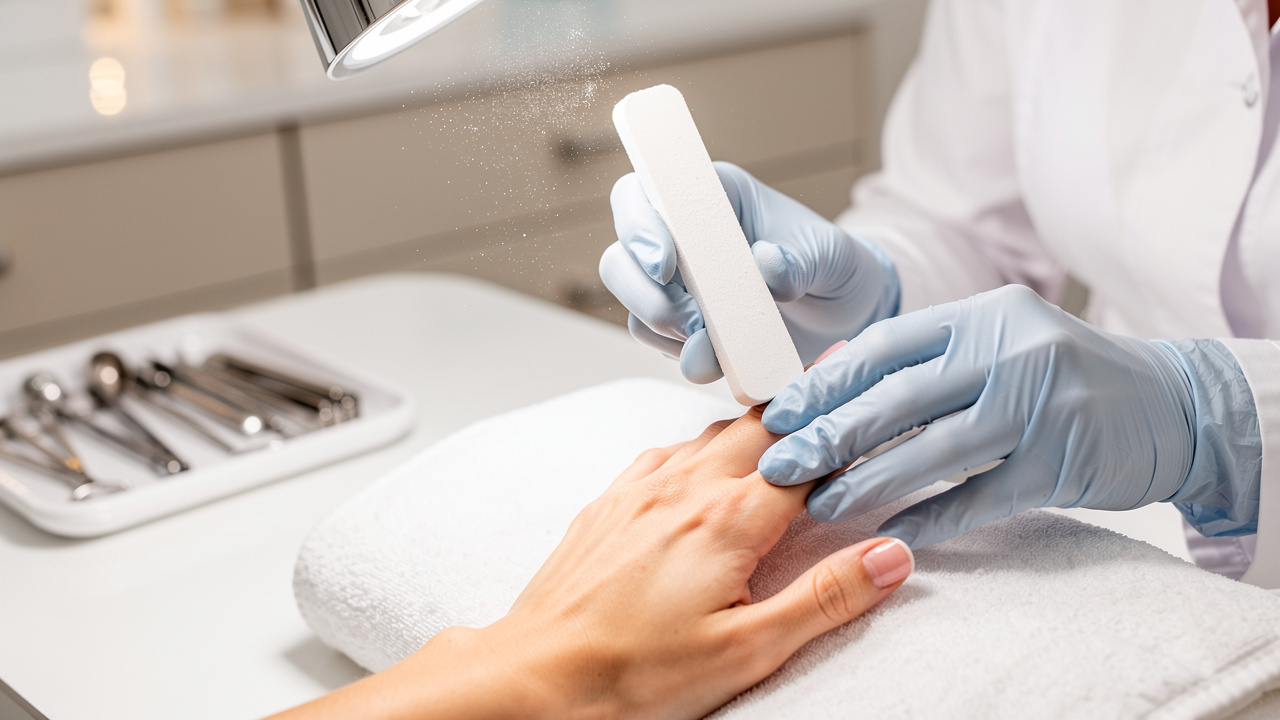
How to properly dehydrate and buff the nail plate
The goal of surface prep is simple: remove shine, remove dust, and remove oil without thinning the natural nail too much. Each step builds on the last so the Extend Gel has a stable, textured surface to attach to.
Work through the steps in this order:
Trim and shape the natural nails
Keep the free edge short and even. Free edges that are too long can push against the inside of the tip and cause Gel X nails lifting at the front.Gently buff off the natural shine
Use a fine buffer over the entire nail plate until every bit of natural shine is gone. The nail should look soft and matte, not scratched, red, or damaged.Cleanse thoroughly with isopropyl alcohol
Scrub the nails with a lint-free pad soaked in high-grade isopropyl alcohol. This removes tiny dust particles from buffing and strips away surface oils.Apply a pH bonder if needed
If your nails are naturally oily or Gel X nails are not sticking even with careful prep, a pH bonder helps a lot. One thin coat is standard, and a second coat on very oily nails can reduce problems with Gel X nails not adhering.Use a non acid gel primer
After the bonder dries, apply a thin layer of a non acid gel primer. This primer creates a slightly sticky film that acts like double-sided tape between the nail and the Extend Gel.
Professional systems and salons, including Xpert Russian Manicure Salon, apply these prep products on dry nails. This dry approach avoids nail swelling and sets the stage for Gel X nails that last longer with less lifting.
Why cuticle removal is non negotiable
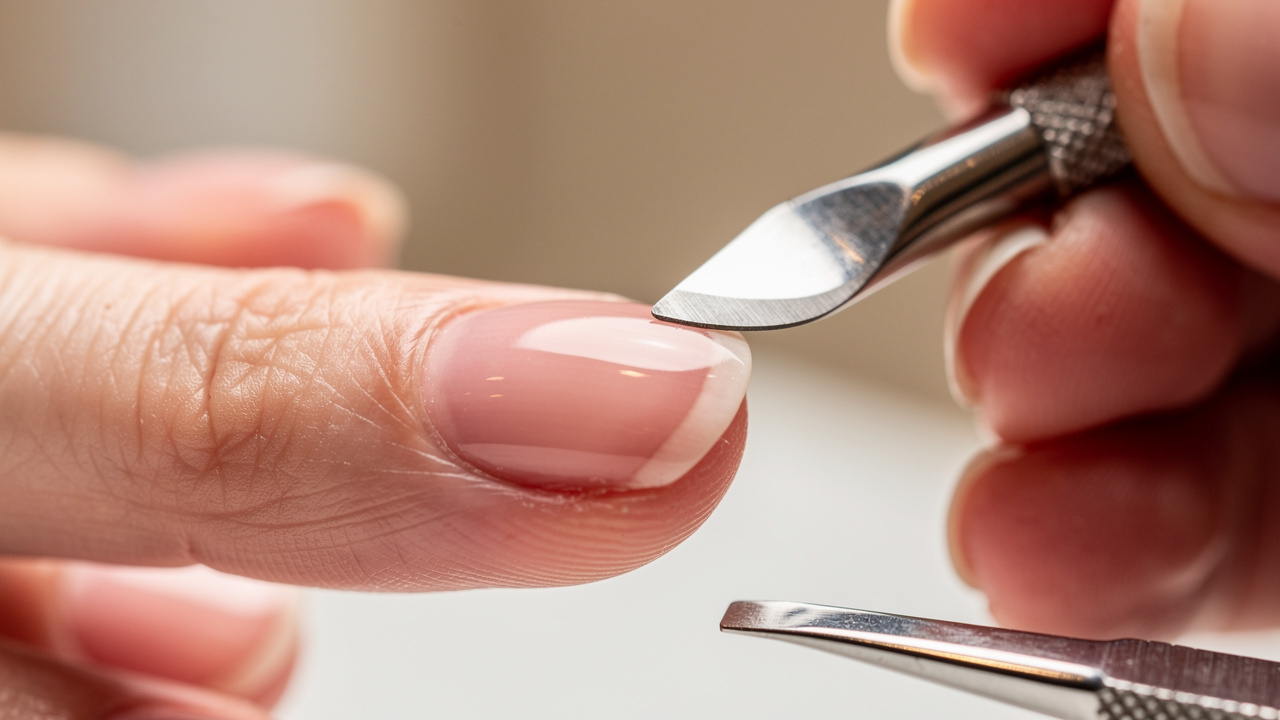
Cuticle work is easy to rush, yet it has a huge effect on how long Gel X nails last. Gel bonds to keratin in the nail plate, not to skin. If thin cuticle tissue is left on the surface, the gel grabs that skin first. As the skin sheds over the next days, Gel X nails lifting at the base show up like a little ridge or pocket.
There is also a skin health reason to keep gel off the cuticle area. When gel floods onto the skin again and again, some people develop contact dermatitis. That can mean redness, itching, and long-term sensitivity to gel products, which no client wants to deal with.
Proper cuticle care starts by gently pushing back the eponychium to expose the true nail plate. Then all non-living tissue is removed from the surface using precise tools, such as fine bits during a Russian manicure. This creates a clean frame around the nail and lets the Gel X tip sit very close to the cuticle without touching skin.
After good cuticle work, the nail should look smooth, matte, and completely free of any white or translucent film. Clients who always see Gel X nails lifting after a few days almost always benefit from more detailed cuticle removal. This is one of the biggest reasons Russian dry manicures are linked to longer-lasting Gel X sets.
Application technique, sizing, gel placement, and curing
Once prep is right, the next step is applying the tips and gel with care. Many cases of Gel X nails popping off within days come from mistakes at this stage. The three pillars here are tip fit, how the gel is placed, and how well everything cures under the lamp.
Good technique keeps stress off the bond, keeps air out from under the tip, and keeps the gel chemically strong. These ideas apply both in salons and for Gel X nails at home, so they can help no matter where the service happens.
Choosing the right tip size and applying gel correctly
Correct tip sizing is one of the best ways to prevent Gel X nails lifting at the sidewalls. The tip should fit from sidewall to sidewall with no squeezing and no gaps. It should cover the nail fully, yet it should not sit on the skin. If a tip has to be pressed tightly to fit, it’s too small, and that pressure can cause pain and pop-offs.
For a quick fit check, look for these signs:
The tip touches both sidewalls without pushing into the skin.
There are no visible gaps or overhang along the sides.
The free edge of the natural nail sits comfortably inside the tip.
Tips that are too narrow pinch the nail plate, which creates tension at the corners. Over time that tension lifts the gel from the sides and makes Gel X nails peeling off more likely. Tips that are too wide float over the nail and hang over the edges. Those edges snag on clothing and hair and create gaps where dirt and moisture can enter. When you’re in between sizes, it’s better to pick the larger tip and gently file the sidewalls to fit.
Before gel goes on, the underside of the Gel X tip needs texture just like the natural nail. Many systems use pre-etched tips. If yours are not, lightly roughen the contact area with a fine file. This simple step helps prevent Gel X nails not sticking because of a glossy tip interior.
When placing the Extend Gel, less is more. A thin, even layer that covers only the contact zone has more strength than a big blob. Too much gel floods the cuticle and sidewalls, traps air, and can stop the lamp from curing through the full depth. For bubble-free placement, set the tip at a soft angle near the cuticle, then press forward and down toward the free edge. Keeping firm, steady pressure while flash curing helps push out air and keeps Gel X nails from popping off later.
Curing correctly to lock in the bond
Curing is the chemical step that turns soft gel into a solid, flexible bond. Under curing leaves the gel partly soft under the surface even when it feels hard on top. These bonds fail with normal daily stress, so Gel X nails falling off in one piece is a common sign that the curing step was not strong enough.
A good curing setup starts with a quality LED or UV lamp that matches the system you use. Cheap or very old lamps lose power over time, which means the gel does not receive enough energy to cure all the way through. Following the manufacturer guide for both flash cure and full cure times is one of the easiest ways to stop Gel X nails popping off.
During flash curing, hold the tip firmly in place for about ten to fifteen seconds under a small lamp. Letting go too early can let micro-bubbles form or move the tip slightly, which weakens the bond. After all tips are set, cure the whole hand in a full-size lamp for about sixty seconds or as directed for that brand. This longer cure helps the gel harden from the nail plate out to the tip so Gel X nails can handle daily life without lifting.
Gel X nails aftercare, how to make them last longer
Even a perfect application can fail if daily habits work against the bond. Aftercare is where the client helps protect the work that was done in the chair. Small changes before, during, and after the service can add days or even a full extra week of wear time.
Before any Gel X appointment, arrive with clean, bare nails. That means no lotion, cuticle oil, or creamy hand soap right before the visit. Moisturizing products leave a thin layer on the nail plate that makes Gel X nails not sticking more likely, no matter how careful the prep is.
Helpful “before” reminders:
Wash hands about thirty minutes before your appointment with a plain, non-creamy soap.
Skip lotion, cuticle oil, and heavy creams after that wash.
During the service, try not to touch hair, face, or clothing after the prep is complete. Skin and hair oils move very easily back onto the nail surface. Even a quick touch along the hairline can undo careful dehydration and bring back the same issue that causes Gel X nails not adhering in the first place. Many salons gently remind clients of this step so the prep stays clean.
To keep nails clean during application:
Avoid running your fingers through your hair once prep is finished.
Keep hands off your face, clothes, and phone screen until curing is complete.
After the service, cuticle oil is a friend, but timing matters. Apply it only after the final top coat is fully cured and cooled. Light oils such as jojoba work well every day because they keep the skin and enhancement flexible, which reduces tiny cracks at the edges. For any task involving water, cleaning agents, or strong chemicals, gloves make a big difference. Harsh soaps and cleaners slowly break down gel and can lead to Gel X nails lifting much sooner.
Post-appointment habits that help Gel X last:
Use a light cuticle oil daily, focusing on the skin, not the nail surface.
Wear gloves for dishwashing, cleaning, and long hot showers where possible.
Dry hands and nails well after swimming or long water exposure.
Treat the nails as an accessory, not a tool. Avoid using them to open cans, scrape labels, or pry things apart.
A common salon reminder is, “Your nails are jewels, not tools.”
With good prep and mindful care, most Gel X sets last around three to four weeks. If Gel X nails are popping off within the first week, the root cause is almost always prep, application, or curing, not just lifestyle. At Xpert Russian Manicure Salon, clients also receive clear aftercare tips with every Gel X set, which helps their results reach the full wear time more reliably.
Conclusion
Gel X nails pop off early for specific reasons that can be fixed, not random bad luck. Inadequate nail prep, poor tip fit, trapped air, weak curing, and careless aftercare each leave clear signs on the nails. Once those signs are understood, it becomes much easier to change habits and steps so Gel X sets wear the full three to four weeks.
The single biggest change for most people is upgrading nail preparation, especially through dry manicure methods and complete cuticle cleaning. Clients who choose professional services that focus on this, such as Xpert Russian Manicure Salon with its Russian dry manicure, often notice that Gel X nails falling off becomes rare. Detailed prep, bubble-free application, strong curing, and smart daily care work together to keep Gel X nails looking polished for far longer.
FAQs
How long do Gel X nails last?
With solid prep and good aftercare, Gel X nails usually last three to four weeks. People with very oily nail beds, very active hands, or constant water exposure may see closer to two or three weeks. Professional applications that use dry manicure and precise cuticle work often reach the higher end of this range more often.
Why do my Gel X nails keep popping off within days?
Pop-offs in the first three to five days almost always point back to prep or application. Common causes include invisible oil left on the nail, thin cuticle tissue still stuck to the plate, too much gel applied under the tip, or tips that do not truly fit sidewall to sidewall. If the same problem happens again after a redo, it usually means the original cause was not fully corrected.
Can I apply Gel X nails at home without them lifting?
Yes, but at-home application has to follow the same core steps that a skilled salon uses. That means full removal of shine, careful cleansing and dehydration, pH bonder, primer, and correct tip sizing for every nail. Skipping prep steps, mixing products from different brands, or guessing on lamp curing times are the main reasons at-home Gel X nails lifting still happens.
What is the best base for Gel X nails to prevent lifting?
The best base for Gel X nails is a combination of a pH bonder and a non acid gel primer from the same system as the Extend Gel. The bonder removes hidden moisture and prepares the nail plate. The primer then creates a sticky layer that helps the Extend Gel grip firmly so Gel X nails popping off is far less common.